
Bench Testing Your Off-Grid System: Real-World Tips Before Installation


Bench Testing Your Off-Grid System Before Installation
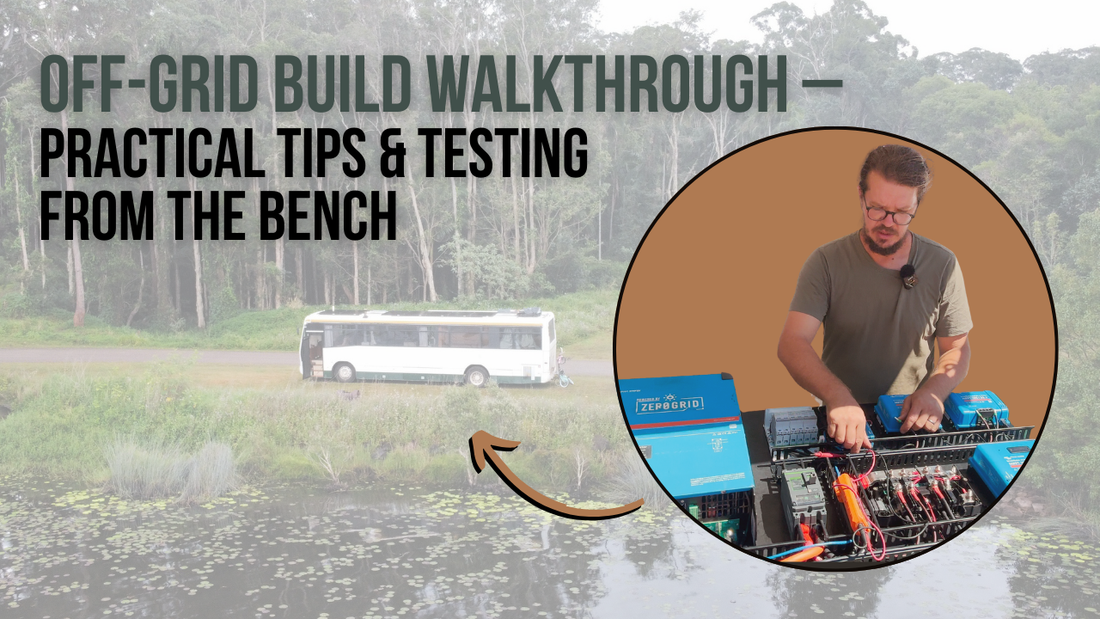
Once you've got a solid plan in place, the next step is critical — bench testing everything before you install. In this stage, I set up all the gear on a workbench to test how it works together, long before mounting anything in the bus.
This second part of the build series takes you through my practical tips and lessons learned from building and testing dozens of off-grid systems. You can watch it here:
What Is Bench Testing & Why Bother?
Bench testing is when you connect your gear — inverter, charger, battery, solar — on a table or temporary board to make sure everything powers on, talks to each other, and behaves like it should.
Here’s why I always do it first:
• It confirms polarity and connection order is correct
• Helps me troubleshoot anything weird before it's installed in a tight spot
• Lets me check firmware, cable lengths, and VE.Direct links
What I Used on the Bench
The system I tested included:
• Victron Multiplus Inverter/Charger
• Temp sensors, wiring lugs, and a big lithium bank
Tips From the Bench
There are a few things I’ve learned the hard way:
• Label your cables – it'll save your future self hours
• Keep AC and DC separate – especially when planning final layout
• Test comms cables like VE.Direct and CAN before installation
• Check firmware now, not after everything’s mounted
Next Step: Mounting & Wiring the Bus
With testing done and everything working properly, I’m now ready to begin installing this gear into the back of our bus. Planning and bench testing has already saved me a couple of surprises — and it’ll save you too.
Helpful Resources
• 🎥 Watch the full bench testing video
• 📘 Grab a wiring diagram to follow for your setup
• 🛠 Browse gear we use and recommend
• 📞 Book a call if you want help planning yours
Thanks for subscribing!
This email has been registered!